 ( 086 ) 11-Feb-2015
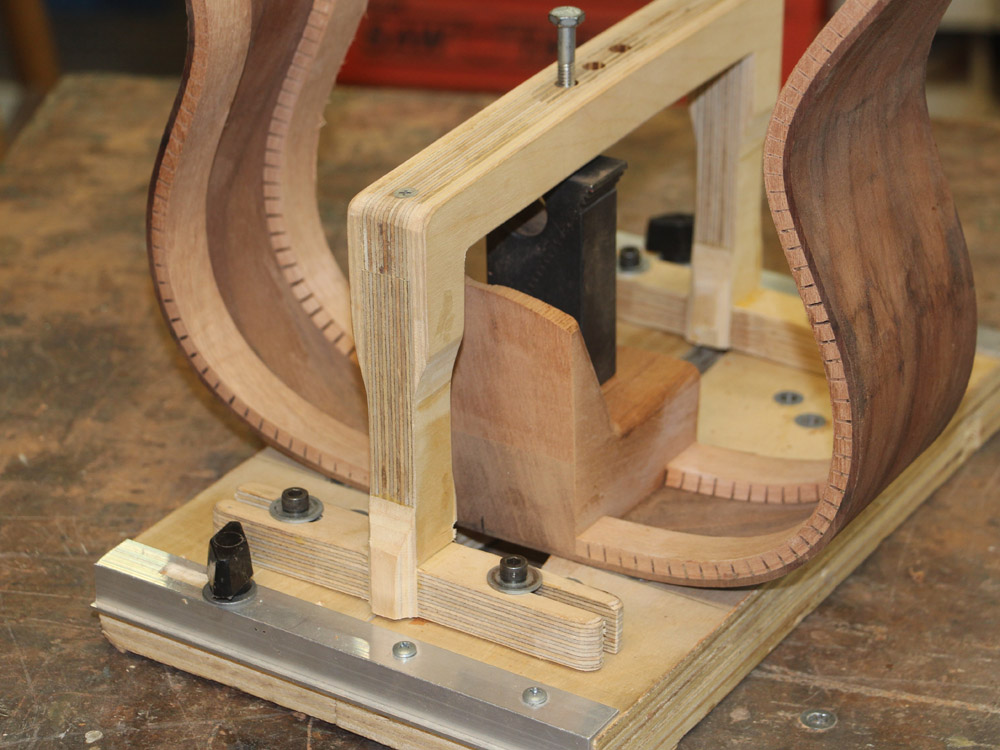
I have mounted the rim in this fixture which has a template in the base with the shape of the heel of the neck.
OM..................... 15" Lower Bout
Body..................... Walnut
Top....................... Sitka Spruce
Bracing................. Engineered asymmetrical modified X-bracing system
Neck..................... 25.4" Scale Maple,
User Adjustable Tilt Action Neck … Variable String to Fretboard Spacing
Dual action truss rod
Fretboard.............. Ebony
Bridge................... Ebony
Binding................. Blooodwood
Appointments....... Shell Inlay
Tuners.................. Gotoh 510 Silver
Nut & Saddle....... Bone
( 086 ) 11-Feb-2015
I have mounted the rim in this fixture which has a template in the base with the shape of the heel of the neck.
 ( 087 ) 11-Feb-2015
I use my router table to route out the channel for the heel of the neck and the attachment hardware.
 ( 088 ) 11-Feb-2015
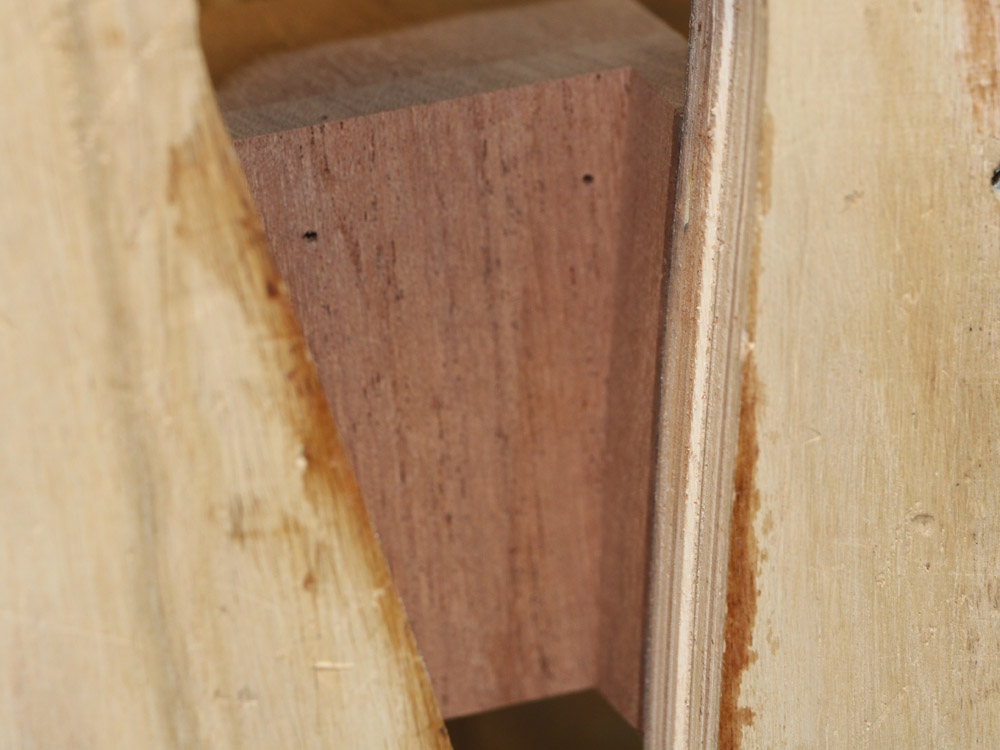
When I am finished the channel has the same shape as the template, and the heel of the neck.
 ( 089 ) 11-Feb-2015
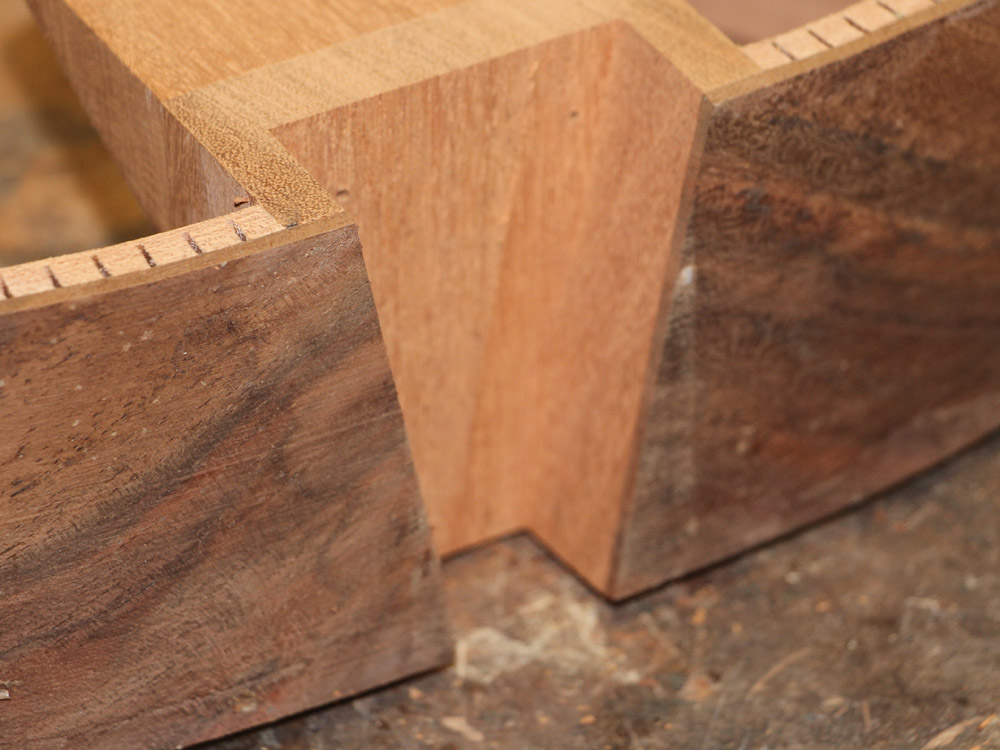
I use the same fixture to make a channel for the tail graft.
 ( 090 ) 11-Feb-2015
The heel channel will have a variety of holes drilled and hardware installed. When the guitar is finished none of this will be visible.
 ( 091 ) 11-Feb-2015
And the tail channel which will get an inlay, yet to be designed.
 ( 092 ) 11-Feb-2015
Here I have set up my CNC Router with a maple blank to create an interdigitated wave back strip.
 ( 093 ) 11-Feb-2015
The inlay strip has a very small repeating detail needing a 0.025 inch end mill. With such a small end mill I have to go very slowly. The machine took about an hour and a half to cut the inlay out... I went out and worked in the garden while it was busy.
 ( 094 ) 11-Feb-2015
The joined back plate gets a pocked routed out for the inlay. I used a 0.063 in end mill for this job, so it didn't take too long to complete this job.
 ( 095 ) 11-Feb-2015
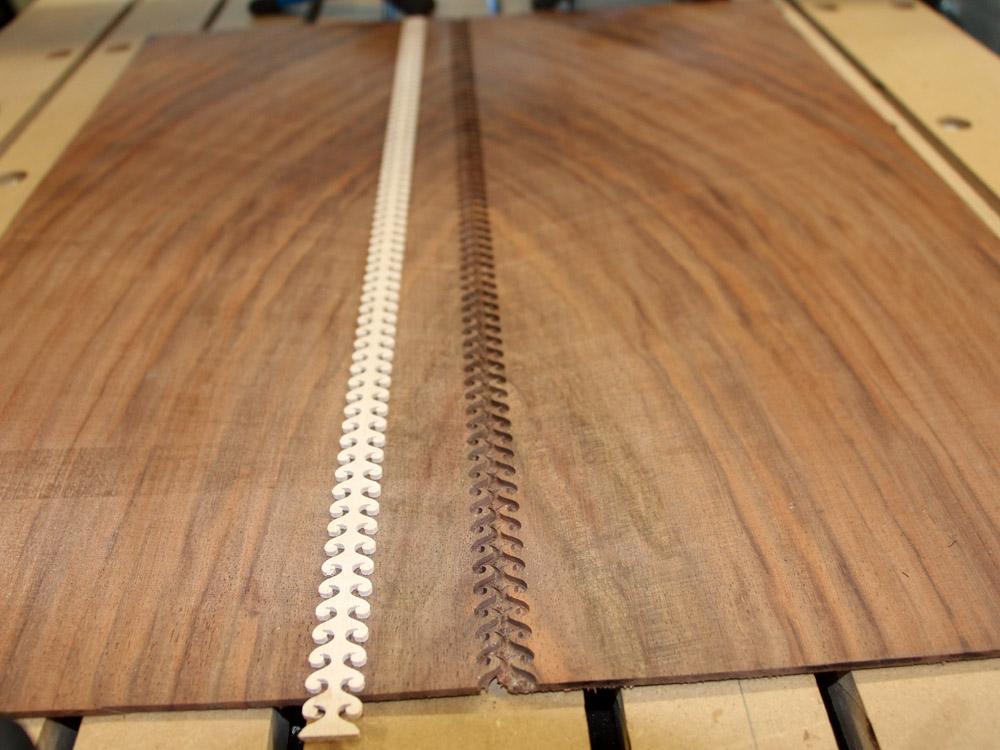
Here is the inlay strip and the pocket. They fit together quite snuggly.
 ( 096 ) 11-Feb-2015
A bit of glue...
 ( 097 ) 11-Feb-2015
And a little persuasion...
 ( 098 ) 11-Feb-2015
And the inlay fits in perfectly.
 ( 099 ) 11-Feb-2015
 ( 100 ) 11-Feb-2015
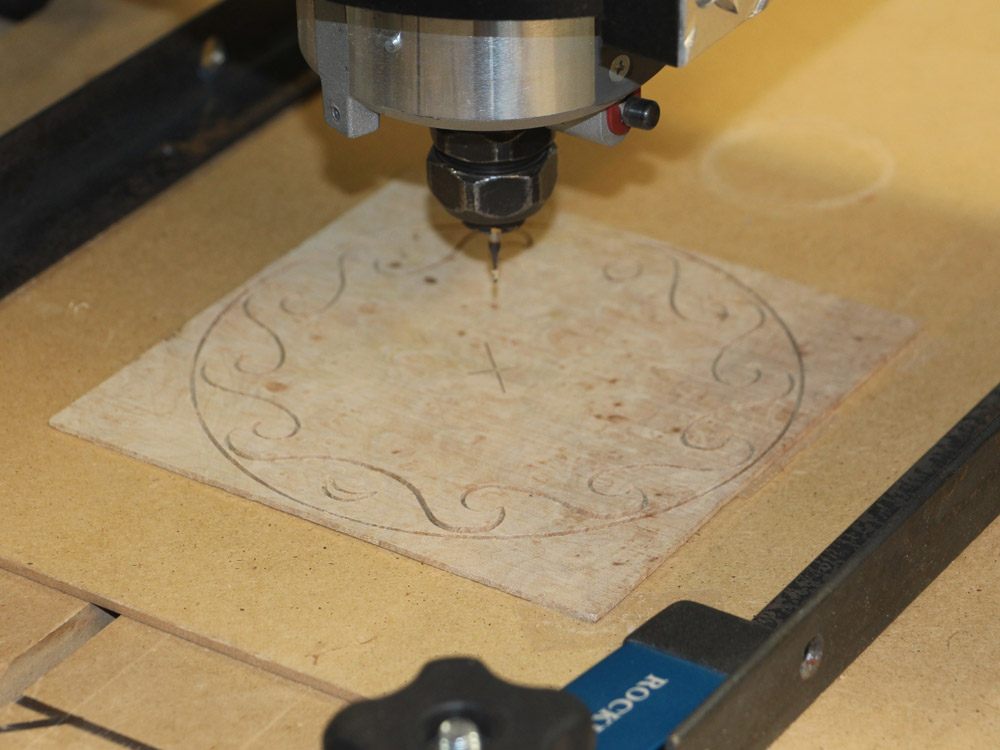
Now, on to the rosette. Here I am routing out the waves in a burled maple blank. I missed taking a few pictures, but...
 ( 101 ) 11-Feb-2015
... after a little more work the rosette takes shape.
 ( 102 ) 11-Feb-2015
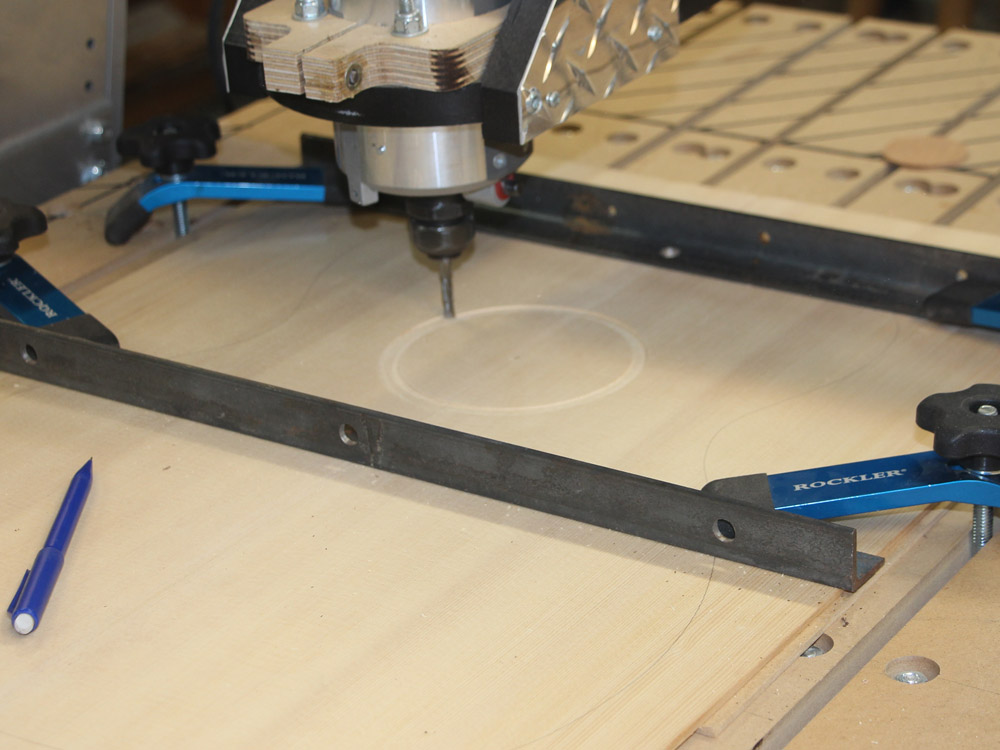
Now I have set up the Sitka Spruce top plate to route out the channel for the rosette.
 ( 103 ) 11-Feb-2015
The rosette and its channel. This method allows for very tight fitting inlays, although the set up can take a bit of time.
 ( 104 ) 11-Feb-2015
The rosette gets glued in place and then the sound hole gets routed out. By maintaining the registration of the piece, the sound hole gets routed out dead center in the rosette.
 ( 105 ) 11-Feb-2015
Finally, the rosette gets sanded flush to the top, and then the snowboard is reduced to its working thickness, (110 mil) by sanding material off of the back.
 ( 106 ) 11-Feb-2015
The finished product.
 ( 107 ) 11-Feb-2015
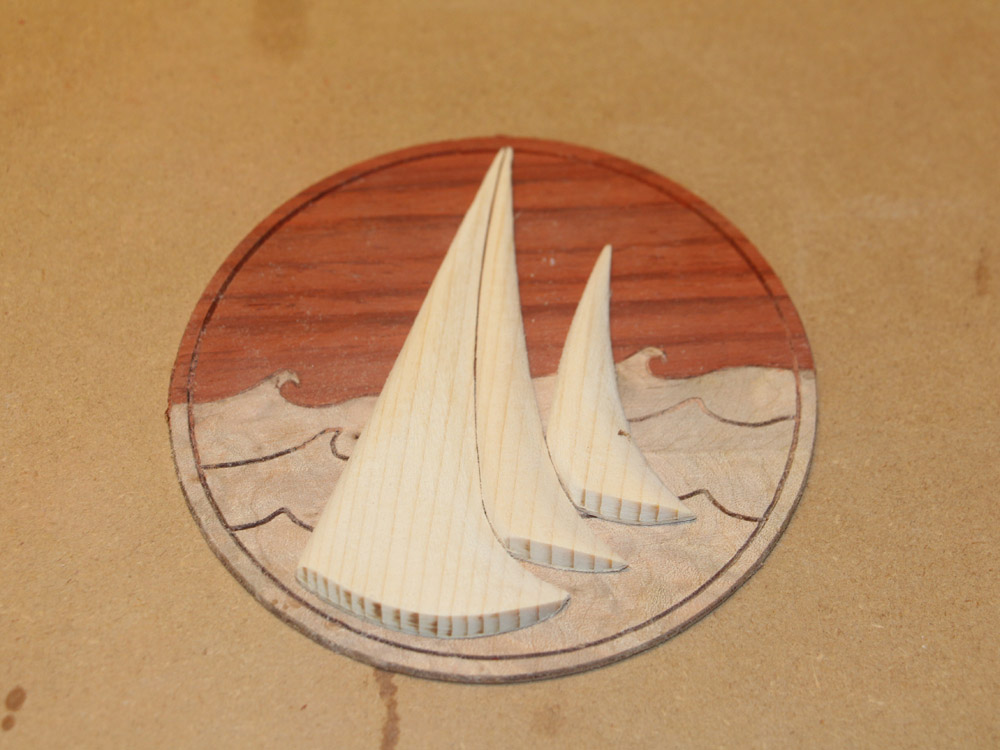
Now on to the contra-rosette. Martin gave me a file with a sketch of the design he created. I used my drafting package to lay out the design and extract the vectors that guide the CNC router. Here I am routing out the sails.
 ( 108 ) 11-Feb-2015
I used padauk for the sky... red sky at night, sailor's delight.
 ( 109 ) 11-Feb-2015
And then I used burled maple for the water and waves. The sails get installed as an onlay.
 ( 110 ) 11-Feb-2015
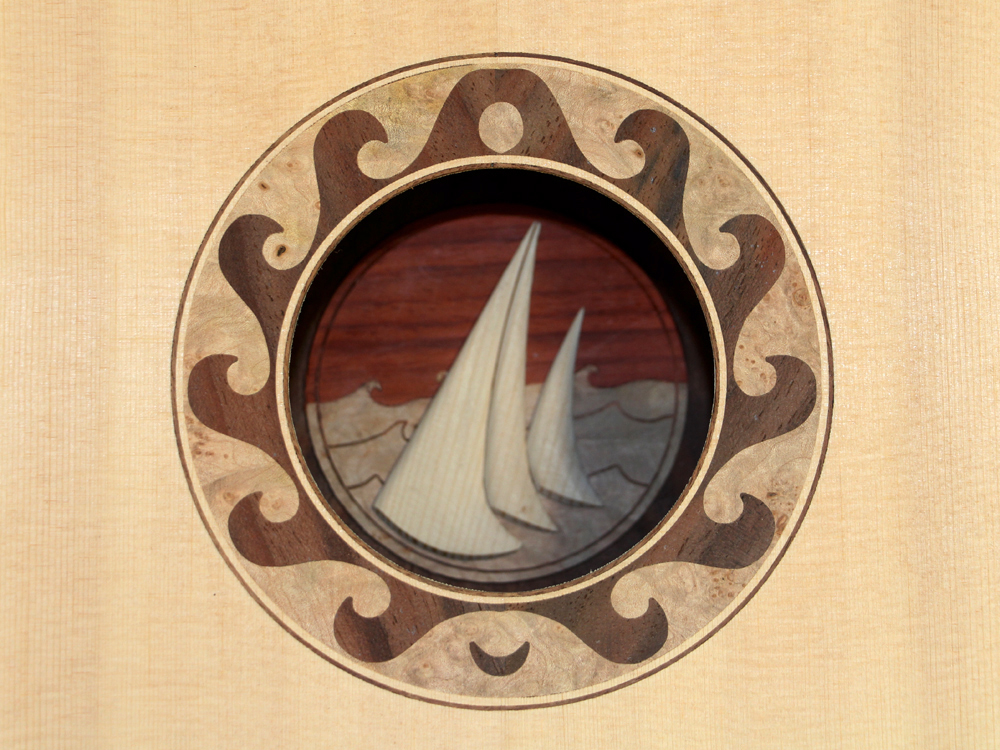
This picture has the contra-rosette pressed up behind the rosette for a clear view.
 ( 111 ) 11-Feb-2015
And in this picture the contra-rosette is positioned as it will be in the finished guitar.